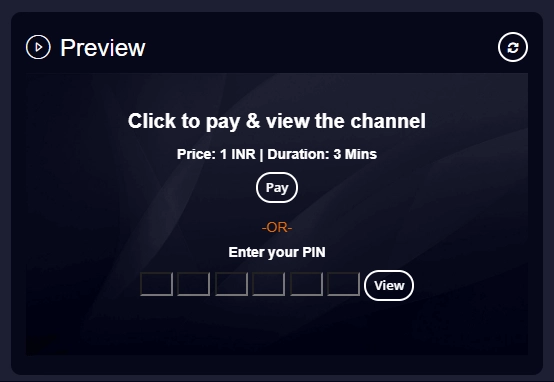
Pay-per-view

How to Enable Pay-per-view Service for your Streaming Channel?

Pay-per-view (PPV) option on Livebox allows monetizing your live streams whereas, it also renders your viewers to avail of a purchase option to stay tuned with all your streaming events.

Complete setting up PPV service for your viewers by following the below steps.
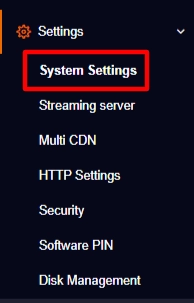
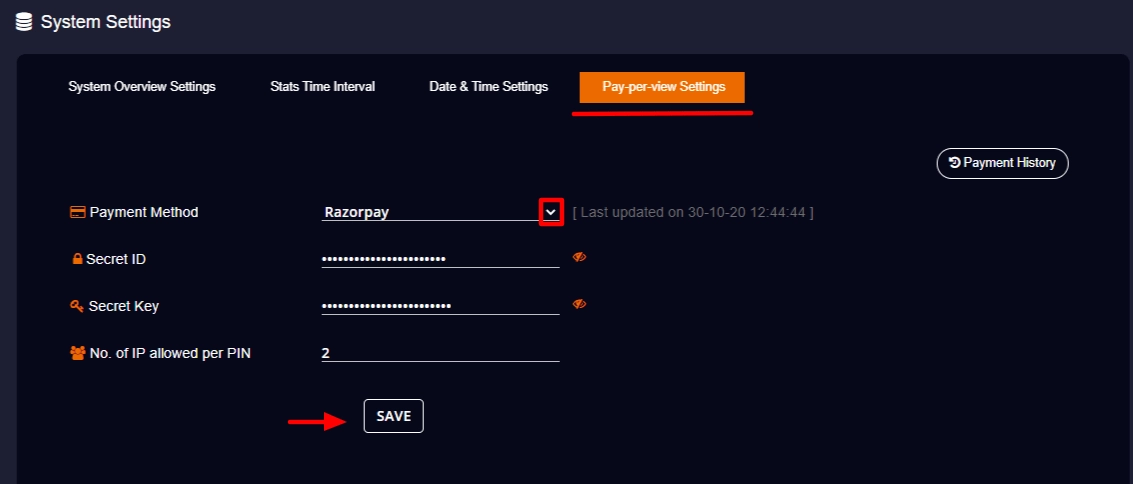
  • Go to ‘System Settings’ under ‘Settings’.
Livebox system settings
  • Tap on Pay-per-view Settings.
  • Select your payment method and enter your (payment gateway) secret ID and secret key.
  • Followed by, enter the number of IP address allowed per viewer to access your live streams.
  • Then click ‘Save’.
pay-per view payment method on Livebox

After completing this process,

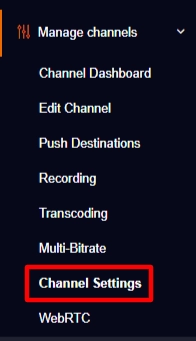
  • Go to ‘Channel Settings’.
Livebox streaming channel settings
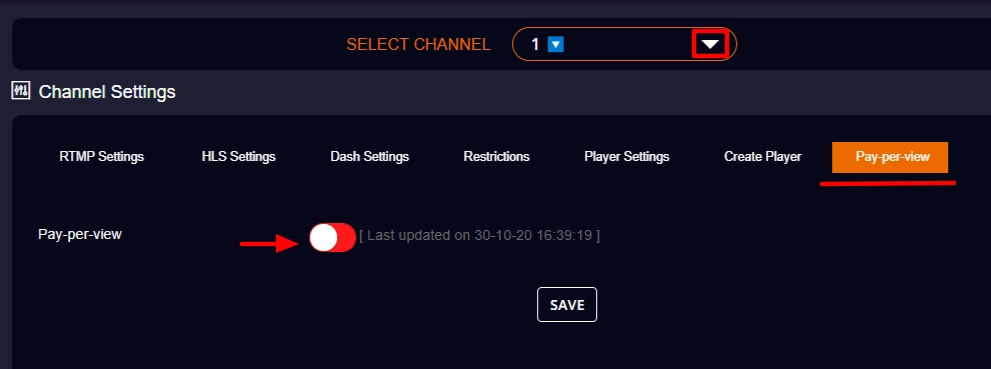
  • Select the streaming channel to which you want to enable the pay-per-view service.
  • Then go to the Pay-per-view option and enable it.
pay-per-view option on Livebox
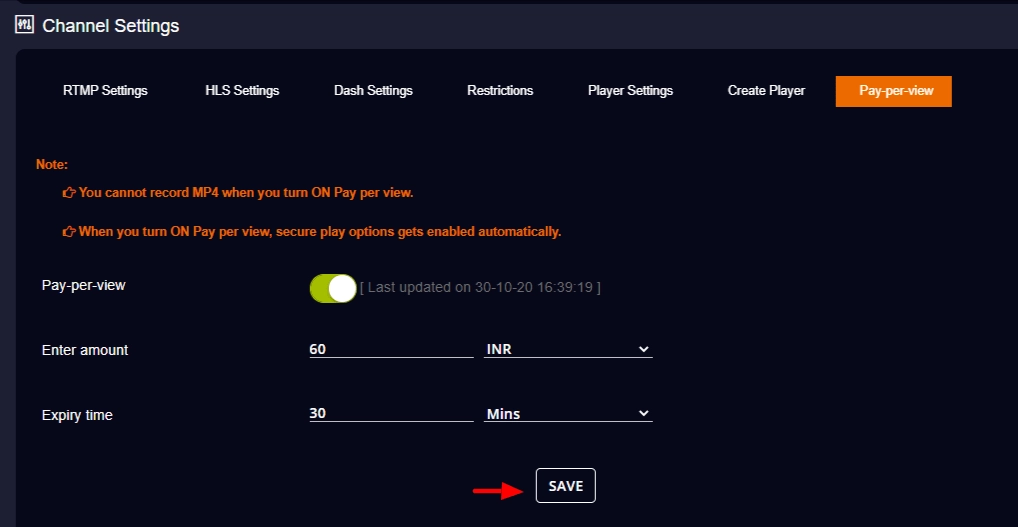
  • Then fix the payment amount and the expiry followed by clicking the save button.
pay-per view on Livebox
  • While setting the expiry, you also have the option to set it for mins, hours, days, months and years by clicking the drop-down menu. 
pay-per view method on Livebox
  • To check whether you have enabled the pay-per-view service for your streaming channel successfully, go to the channel dashboard and preview the player.
pay-per-view on Livebox

So from now on, while embedding the player on streaming destinations, viewers can pay to enjoy all your live streams.