In the higher-end versions of Livebox, white labeling the server can be done on the Livebox Branding settings. On rebranding, the user can actually white-label the Livebox server name, access URL, logo, favicon overall on the Livebox server and the other information like contact details on all the Livebox error pages and replace with their brand details for their end-users.
So, follow the below steps to white label the Livebox Streaming Server.
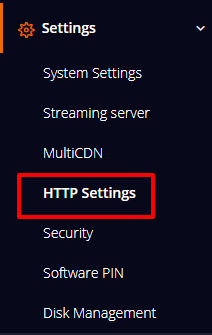
Go to HTTP Settings under Settings from the navigation menu.
Now go into the Branding Settings page.
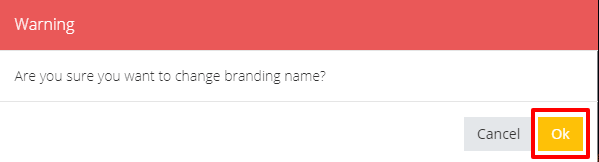
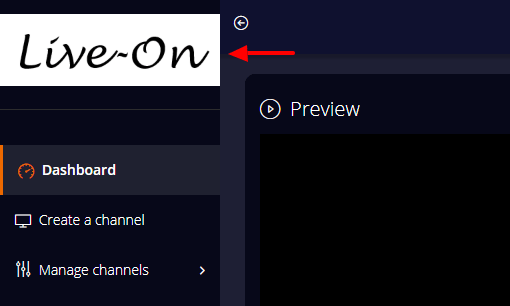
In Branding Settings, if you want to change the name of the Livebox server under your brand name, then enter your brand name.
Note: The name you are entering should contain the first letter in the uppercase with no space and special characters.
Then click on the highlighted icon on the below image.
A dialog box with a warning message pop-up and you can click “Ok”.
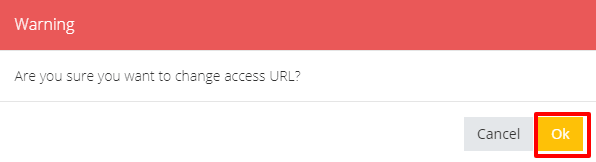
Likewise, you can also change the Access URL Name to your directory.
The Access URL name should contain only a single word in lowercase.
So, after changing the Access URL name, click on the highlighted icon on the below image.
A warning dialog box pop-up and you can give OK.
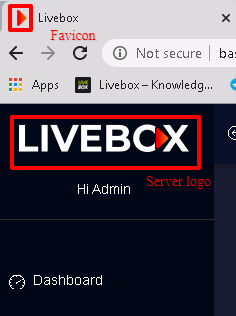
And if you want to replace the server logo with your brand logo, first upload a logo in the Upload Branding Logo option. (The same steps are to be followed while changing the Favicon as well. )
Now back on the Branding settings, select an image file from your browser to set it as your server logo or Favicon.
Note:
The Logo image should be in .png format and 170*28 pixels in dimensions.
The Favicon image should be in .png format and 128*128 pixels in dimensions.
Then click the “Upload” button.
Once after uploading the image, you can select and change the server logo/favicon by clicking the drop-down menu on the Change Branding Logo & Favicon option.
After selecting the logo/favicon from the drop-down menu, click on the highlighted icon on the below image.
A dialog box opens, where you select the Livebox features to replace the default logo/favicon.
Select the Livebox features pages and then click the Change button.
Now reload or Ctrl+Shift the server page to see the replaced logo in the server and other given feature pages.
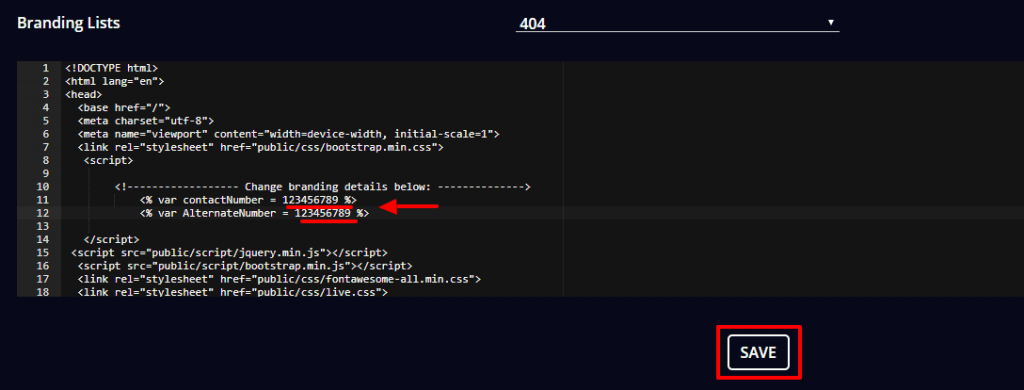
Then in Branding Lists, you can change the contents on all the Livebox error pages.
You can change the contents on the pages like 404, Bandwidth limit, Date Expired, Disables and Error pages.
For example, to change the contact number on all the Livebox error pages, you can replace your phone number on the 11th and 12th lines of the code editor.
Then finally click “Save”.
Then go to the error page and check for your replaced number. The same way you can do for the other pages given under the drop-down menu.
The next step is to add your own domain name. To add a new domain and to make it as your default server, go to the link given below.