Search
Close this search box.

Configure Livebox to Use GPU

How to Configure Livebox to Use the GPU for Live Encoding and Transcoding?

While using a graphics processor fixed to your server to minimize the CPU load, you have got preset settings involved before converting or transcoding videos through the queue feature. In this article, we will focus on how to change the settings within the queues to use the GPU fixed inside the server. Supported GPUs: NVidia Geforce, Tesla and Quadro models.

Note: This article is only applicable for Livebox servers with in-built NVidia GPUs so make sure that you have a GPU enabled server before you follow the following steps.

  • Go to Queues from the navigation menu.
  • Under Queues, go to “Create Queues”.
  • In Create Queue, click on the “Preset” button located in the right corner.
GPU preset
  • You can click the plus icon to create your own preset. 
GPU preset settings
  • You can set the Video Settings with the required values. You can also click the drop-down menu to select values on video settings.
  • The video Codec setting is usually h264_nvenc
GPU
  • In the same way in Audio Settings, the Codec is aac
GPU for live encoding and transcoding
  • If you are not sure about the video and audio settings, you can select the readymade presets for the graphics processor (GPU).
  • Even if you want to create a new preset for GPU, you can copy the values from the readymade GPU presets and create a preset with a new name. And by doing so, you can share the GPU load while streaming/converting/transcoding videos through one or more GPU presets.
GPU presets for live encoding and transcoding streaming

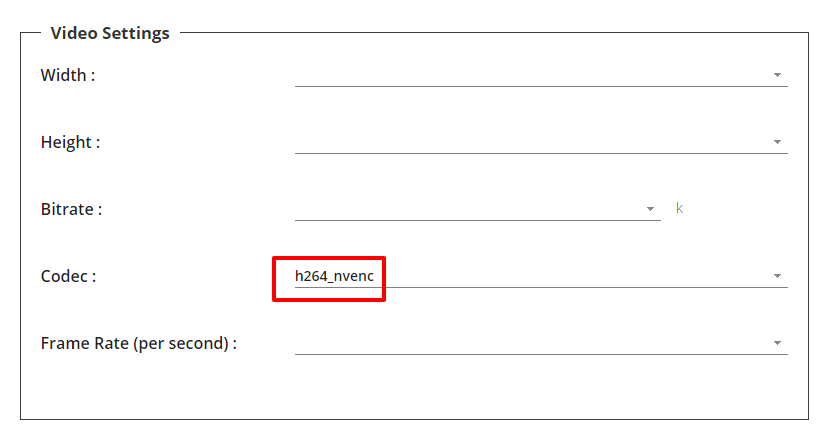
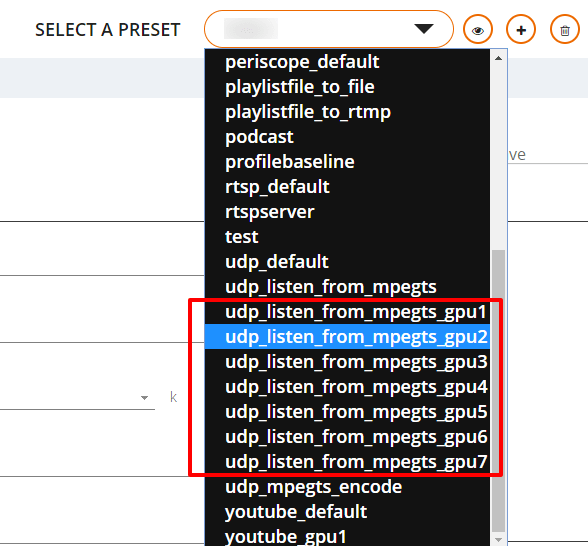
So now, let’s see how to set a GPU preset while using the Queue feature,

  • Create a queue and a task by giving priority, delay and the number of attempts.
  • In “Source”, add a source either from YouTube, RTMP server or UDP sources, local files, and playlist.
  • Then go to “Destination”.
  • After selecting your destination, now select a “Preset”.
  • You can select the readymade GPU presets or the one you have created it.
GPU presets
  • After selecting your preset, you can click on the “Add” button.
  • Then go to the “Queues Dashboard” and start the queue.
destination-preset-settings

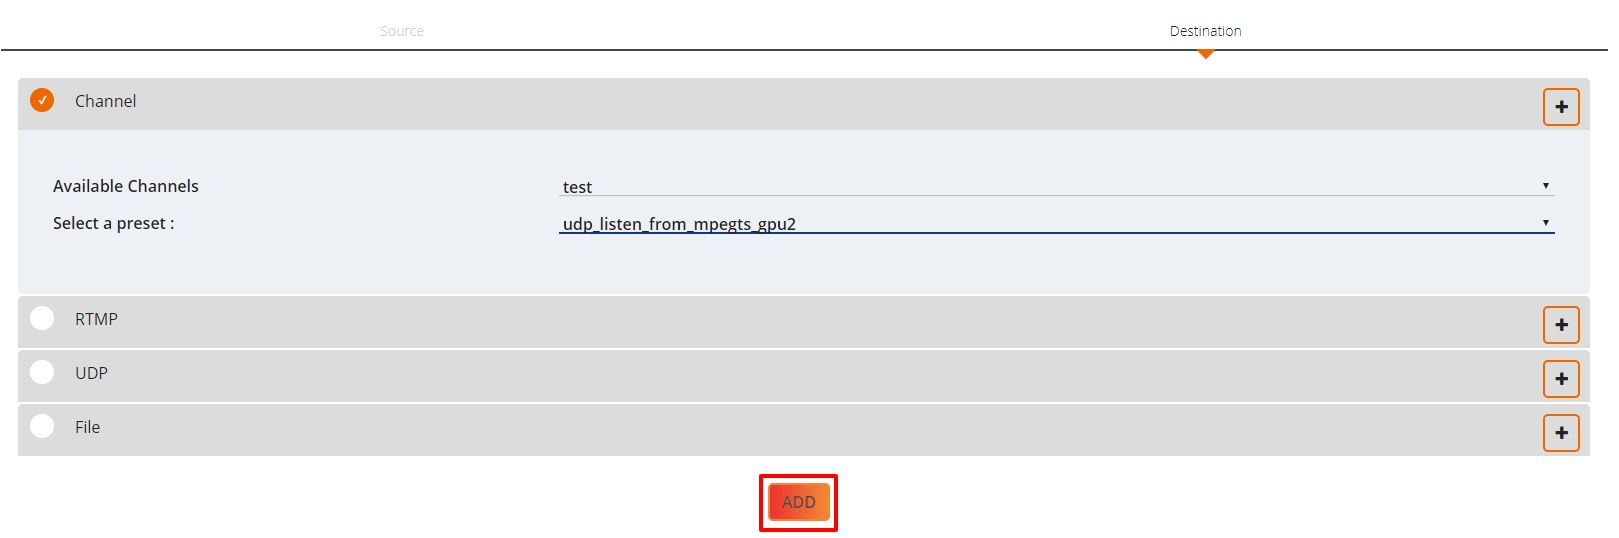
So, with the Livebox queue feature, multiple GPU presets can be created to share the server workload efficiently.