Users and Roles Permission for the Video Conferencing App
How to give Access to use the Livebox Video Conferencing App?
The video conferencing app is one of the full-fledged applications in Livebox for efficient video calling purposes. It is now possible for the Livebox users to lend this video conferencing app to their customers through the provided Users & Roles feature.
To give permission for your users to use this video conferencing app,
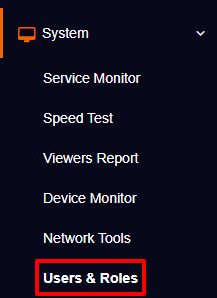
Go to Users & Roles under System from the navigation menu.
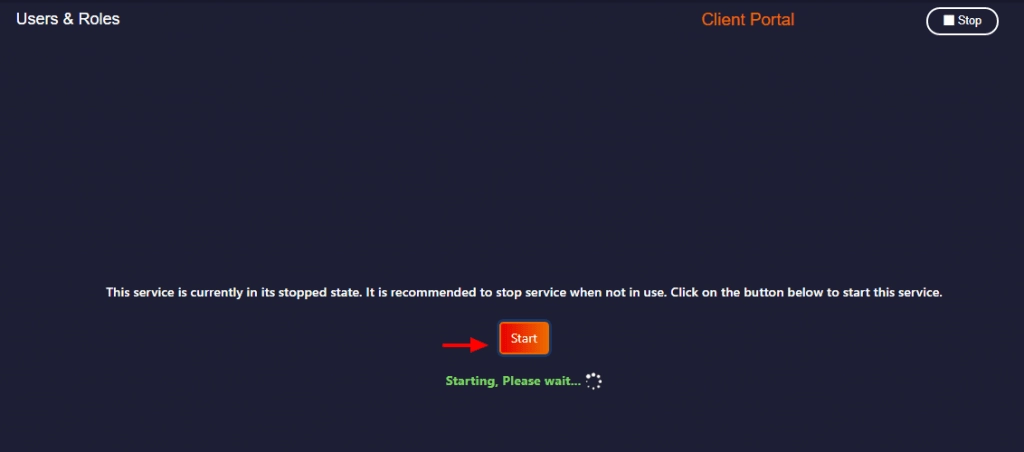
On the Users & Roles page, click the Start button to initiate the service.
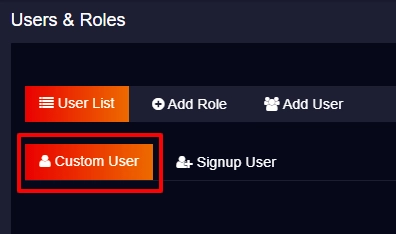
Once the service is started, under Custom User, you have to create a role for the app user.
Now under Custom User, go to Add Role.
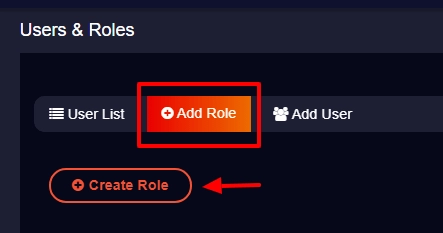
And under Add Role, click Create Role.
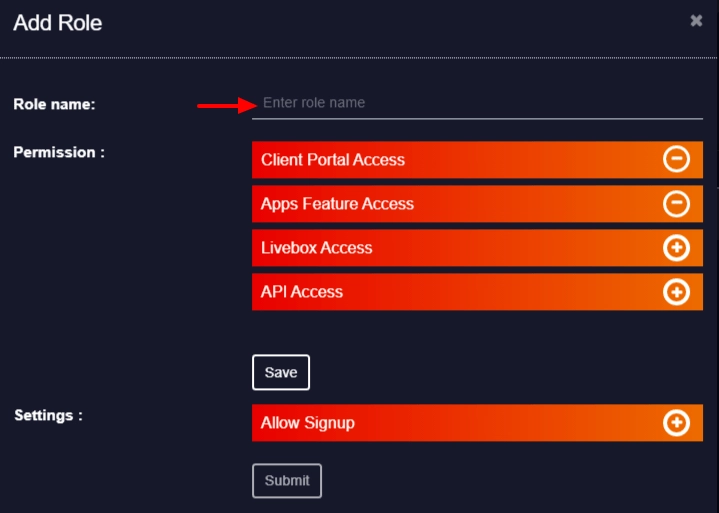
A dialog box Add Role opens, enter a role name for your user, and then assign permission for the user can use the video conferencing app.
Note:
Giving permission to the user can be done in three ways:
Client Portal Access– When giving this permission the user can use the app through the Client Portal access.
Livebox Access– This access can be given to the Livebox server sub-admins, where the sub-admin can have the permission to use the video conferencing app from the Livebox App Store.
API Access– With this access, the user can have permission to integrate the provided Rest APIs or SDKs with any mobile app or web app.
ADDING ROLES
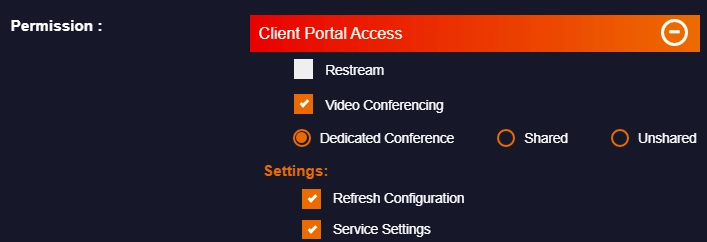
CLIENT PORTAL ACCESS
Under the Client Portal Access permission, select the Video Conferencing option.
Once you select the video conferencing option under Client Portal Access, a few more options appear where you can select any of them based on your preference.
After selecting these options also enable the below-given settings.
Finally, click the Save button.
Note:
Dedicated Conference– If you select this option, then the user can create video conferencing rooms within the limits you allocate.
Shared– This option gives permission to make use of the video conferencing rooms created by the master admin. The user cannot create their own video conferencing rooms.
Unshared– This one works the same as the Shared option but the only difference is, the user can make use only the available video conferencing rooms i.e, the video conferencing rooms not used by any other sub-users.
A role is created. Now you can move on to the user creating process.
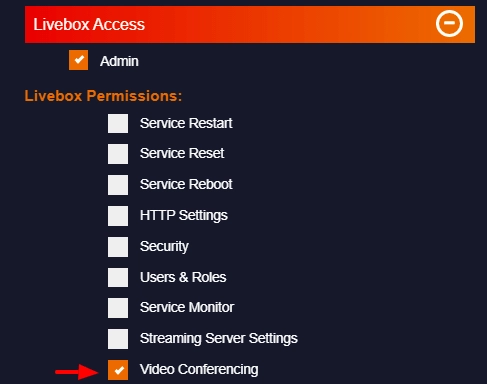
LIVEBOX ACCESS
Under Livebox Access, select the Video Conferencing option.
Then click the Save button.
A role for your sub-admin is created. Now you can move on to the user creating process.
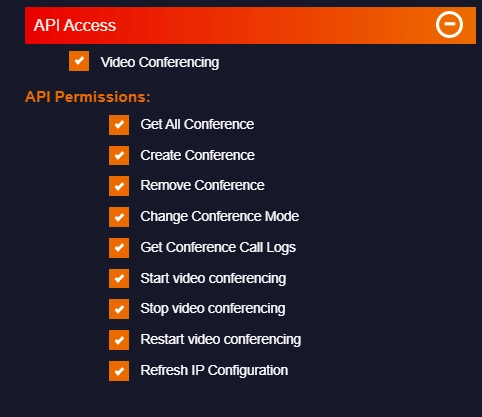
API ACCESS
Under API Access, select the video conferencing option and select all the API permissions that you want enable to your user.
Then click the Save button.
A role for API access is created. Now you can move on to the user creating process.
ADDING USER
Now to add a user to the role you have created,
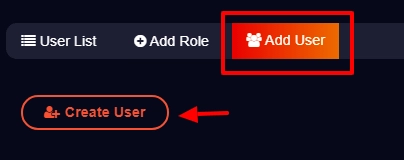
Go to the Add User menu.
Click the Create User button.
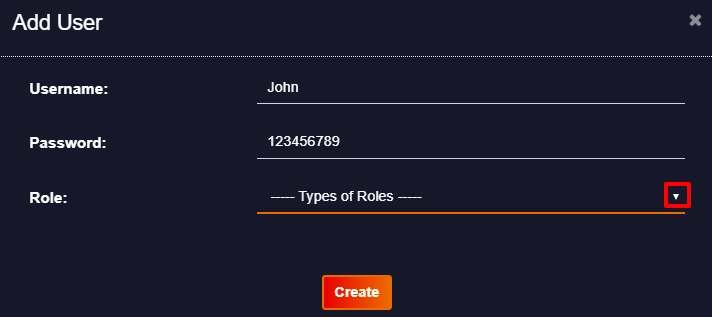
A dialog box Add User opens, where you can give your user details and click the Create button.
The video conferencing app user will be added successfully.