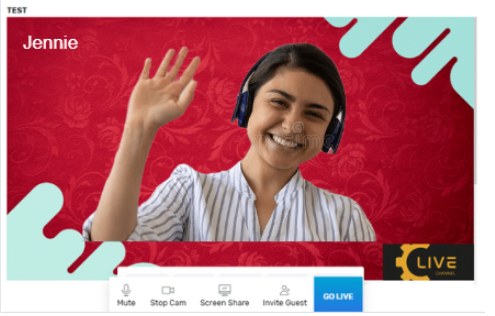
Video Conferencing is one of the easiest and most effective methods of telecommunications. Face to Face meetings can be held at remote places. Video Conferencing in Livebox is improvised with specialised tools and features in the form of Podcast streaming. There are numerous features of individual conferencing settings for each participant, like mute, unmute and screen share options which can be set individually during conferencing. One of the latest features is a ticker option. In this, you can add a piece of information regarding the conference or a person as it scrolls endlessly throughout the conferencing. The participants can also share their views and opinions in the chatroom. Livebox has also added graphics, where one can change the background, and logo, and overlay your conference. You can also stream your video conferencing to other social media platforms if needed. The video conferencing in Livebox appears as below:
Follow the below methods to start your Video Conference:
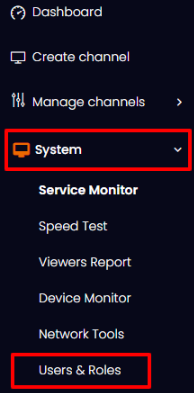
Go to the System option in the Livebox Navigation menu and select the Users & Roles feature.
Click on the Start button, to begin with, the Users & Roles option.
In the Roles tab, click on the Create Role option to create a role for the user.
The Add Role pop-up box appears, and in it enter your Role Name (name of the role for your user).
The Permission section has several features to which you can grant access to your user based on their roles.
Under Client Portal Access, select the Podcast Streaming option and click on the Save Button.
Note: You can grant permissions on four categories based on the requirements of the sub-user.
Client Portal Access- Under this category, you can provide access to Restream, Websites, File Upload, Podcast Streaming, and Video Conferencing.
App Feature Access: Under this category, you can provide access to Auto Stream and Device Monitor.
Livebox Access: Under this category, you can grant permission to the Admin option.
API Access:Access to video Conferencing and live streaming is provided here.
Now, move to the Users tab and click on the Create User button to nominate the user for the created role.
The Add User pop-up box appears. In this, fill in the Username, Password, and E-mail address and mention the Role of the user from the drop-down box.
You can now scroll down and fill in further details like Channel limit, Push Destination Count, and Select Mode. Then click on the Create Button.
Note:
Channel Limit: Number of channels that are limited to your server.
Push Destination Count: The number of destinations that the user gets access to Livestream.
Select Mode: You can select the preferred mode for your user.
You can view the Created User below:
Click on the Client Portal button to move to the created user page.
Enter the Username and Password to Sign In to the User account you have created.
The Podcast streaming page appears. Here, click on the Create Channel button
In the Create Channel pop-up box, fill in the Title and add the Description to create the channel.
From the Broadcast to, drop-down option, select Facebook. Then, click on the Create button.
You have successfully created a channel for podcast Streaming.
Under Actions, click on the Enter Studio option.
You have now entered your studio to stream the podcast streaming to your Facebook destination. To begin your streaming, provide Access Permissions to your Camera and Microphone.
Your video conferencing is now ready. Your Channel will appear as shown below:
You have successfully created a Video Conferencing.